So you bought a new baseball glove after spending hours on the internet going through your options. Perhaps yours truly at Baseballhover was your guide and helped you pick out the perfect glove. But lo and behold, once you got the glove, it feels a tad too loose.
What do you do in this situation? Do you return it and ask for a refund or a replacement? Well, if the glove is slightly loose, it’s probably the right size but just requires a bit of adjustment. And while it might seem frustrating to have to work on adjustments with a new glove, sometimes, it becomes a necessity.
The good news is tightening a baseball glove is pretty easy as long as you know how. And with my help, things would go much smoother than if you had to figure out the steps on your own.
Here, I will give you a quick and thorough rundown of how to tighten your baseball gloves so that you will be able to get the perfect fit from your new glove. Let’s hop in.
Should You Tighten Your Baseball Glove?
Wearing a form-fitting baseball glove is usually better for your hands as it provides better protection. When you buy a new high-end baseball glove, it usually comes at a factory-set size with options for manual adjustment to some extent. A new glove will never fit perfectly and, usually requires breaking in before it gets comfortable.
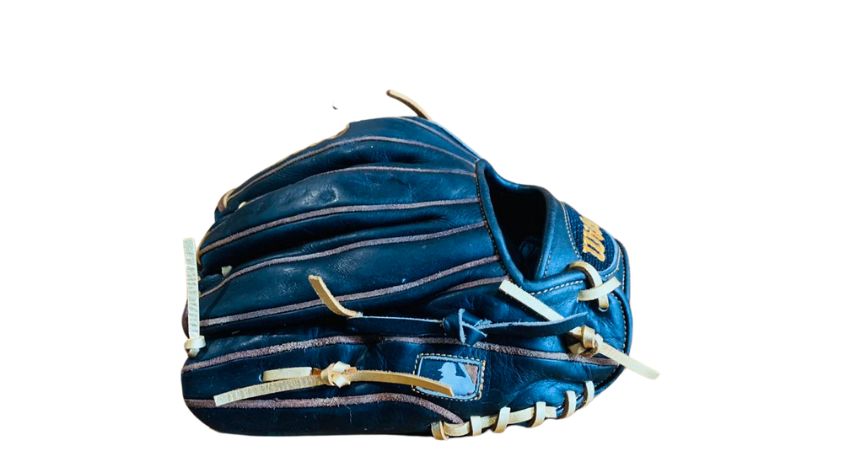
Once you break in your glove, if the glove still feels a bit loose on the finger or wrist side, then you should, of course, tighten it. Readjusting the fit is important if you want the glove to feel tight in your hands. It will give you better protection and more control when you wear it.
Some people, on the other hand, prefer wearing loose gloves around the fingers. And while I don’t condone it, I certainly understand it. I would still recommend tightening the gloves a bit, but if you are comfortable with it and it’s serving you well, then there’s nothing wrong with it.
How To Tighten Fingers On A Baseball Glove
You don’t need to be a professional to tighten the laces on your baseball glove. It’s a pretty basic skill, and knowing how to do that will help you get the most out of your gloves.
Now some might suggest using a pair of pliers or a small steel rod to pull the laces. But frankly, you don’t need to worry about all that. Your bare hands should suffice to stretch and tighten the lace. Explaining the process might be a bit confusing for you, though. So I’ll also drop a link to a video for your convenience.
Step – 1
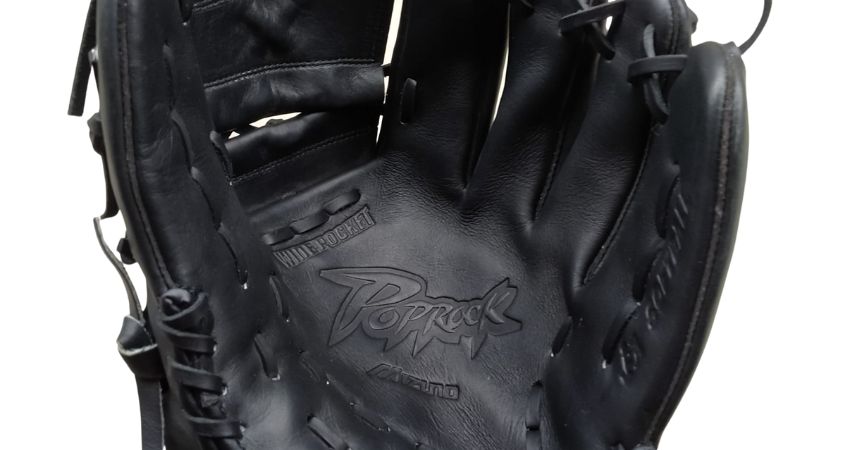
The first step is to untie the knot on the pinky of the gloves. Then hold your glove so that the palm side is facing toward you. If you notice the top of the fingers in the glove, you will notice the laces making an X-pattern between each finger. That’s the main element that you need to work with to tighten the fingers of the glove.
Step – 2
You want to start from the X section between the index and middle finger. Pull the lace that sits on the top side of the X to get some nice slack. Then take the part of the lace that comes out the back of the middle finger and pull it outside. This will let you tighten the lace between the index and middle finger of the glove.
Step – 3
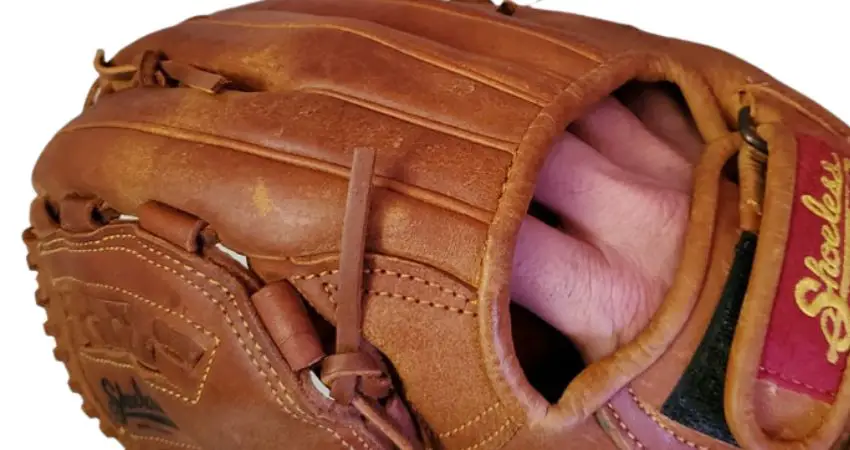
With the index and middle finger tightened you need to move on to the next set of fingers, namely the middle and the ringer finger. Take the excess lace on the outside of the middle finger and pull it through the front. Repeat the exact same step as before to tighten the lace between the middle and ring finger.
Step – 4
The rest of the process is pretty much the same. You should be able to tighten the rest of the fingers on your own by repeating the steps.
Step – 5
Once you are done tightening the fingers, you will notice the length of the excess lace outside the pinky is longer than before. Simply tie the excess end, and your glove should be ready for use. However, if you are sure that you won’t need to loosen the glove in the future, you can snip off a bit of the excess lace so that it looks better.
How To Tighten Baseball Glove Wrist
Adjusting the wrist of a baseball glove takes a bit more work than the fingers. But with some practice, it can become a lot easier. Of course, you can take it to a professional to get it fitted properly. But if you follow my guide, you should be fine too.
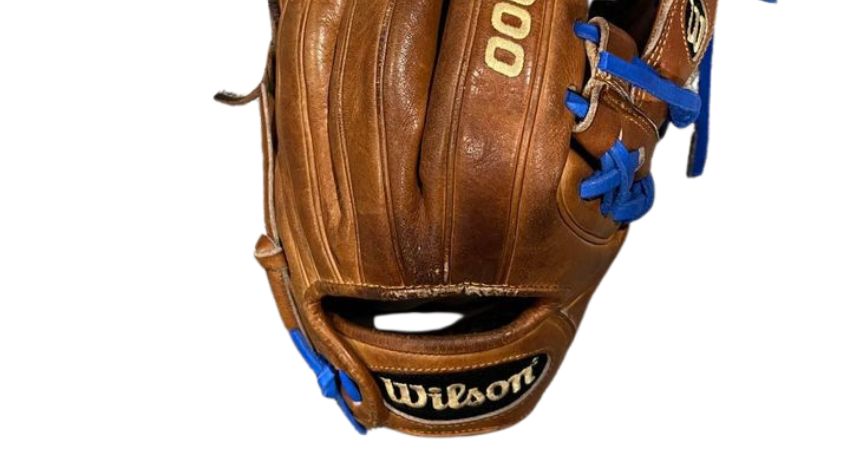
While tightening the fingers of the baseball glove can be done with bare hands, you would need a leather lace threader if you want to adjust the wrist laces. I’ll also suggest using a pair of pliers to untie the knots. Things will go much smoother if you don’t damage the laces while untying them.
Here are the steps on how you can do this. Like before, I will attach a video to make things easier for you to follow.
Step – 1
The first step is to check the lacing that comes as default with your baseball glove carefully. You will notice that there are eight holes on the wrist flap of the glove and four holes on the base of the thumb part. Typically, the laces are threaded to the middle four holes on the wrist flap.
To tighten the gloves, you need to untie the laces, take them out, and thread them through the top four holes on the flap. On the other hand, you can also thread it through the bottom four holes if you want to loosen it. During this step, you should also check the lacing pattern, as you will need to follow it while adjusting the wrist.
Step – 2
The next step is untying the knots. Start with the base of the thumb and untie the knots. Carefully pull out the lace through each of the holes. Don’t pull too hard from one end, as it can chafe the leather. This will end up damaging the finish of your glove.
Step – 3
With the lacing removed, you want to push one end through the head of the lace threader. Then thread the lace through the bottom left of the four holes in the thumb part of the glove from the top. Pull it through the inside of the glove and thread it through the top of the bottom left of the four holes in the wrist flap.
Make sure the lace is straight, and there’s no twist in between. You can rotate the lace manually to make sure it is completely straight. Then take the lace through the top left hole of the thumb part and pull it through. From there, thread it through the top right hole of the wrist flap and push it through the top right hole of the flap.
Then take the lace through the bottom right hole of the thumb part, making an X-pattern on the thumb section. Finally, push the lace through the bottom right hole of the wrist flap. Things will become a lot clearer if you watch the video.
Step – 4
If you followed the lacing steps correctly, you should be left with the two ends of the lace. Tie the ends together with whatever knot suits you. I personally go with a double knot for better security. Voila, the wrist in your glove should feel much tighter and give you a better fit.
Is it Better to Make a Baseball Glove Tighter?
It really depends on your preference as a player. A tight glove will give you more control over the glove and also protect your hand better. So in most cases, tightening your glove so that it fits tightly in your hands is the better approach.
However, some people find that it’s harder to use the gloves freely if it’s put on too tightly. If you feel the same way, then it’s better to loosen it up a bit so that it feels comfortable in your hands. In the end, you should go with what works best and feels best for you.
The Bottom Line
Getting the perfect fit on your baseball glove is essential for a good game experience. Even the most skilled player will fumble the ball if his gloves are working against him. So if the fit is off, then you will be held back by the glove and won’t be able to play to your fullest potential.
Hopefully, my thorough guideline on how to tighten a baseball glove could help you understand how you can get a nice fit from your gloves without too much hassle. Good luck!
