The first thing you must do after buying a baseball glove is to break it in. A new baseball glove, at least one that’s made of decent-quality leather, feels stiff out of the box. And you need to play catch with it and hit it with rubber mallets to slowly soften it up and make it feel comfortable.
Some people hate it, but I absolutely love breaking in my new glove. It feels like a rite of passage for my new glove, and I like to take my time with the process. And once I am done breaking in my new glove, it feels like an extension of my hand rather than a separate piece of equipment.
Now the shape that you achieve by breaking in your glove can deteriorate over time. Improper storage or careless handling can accelerate the deterioration, and if you keep your glove in a locker for a couple of months, you’ll notice that it doesn’t have the same shape as it did after you broke it in.
While some people may claim that a glove that’s lost its shape is in need of a replacement, that’s not entirely true. Yes, you can, of course, get a new glove, but reshaping your old glove is another option that can save you some money and the hassle of buying a new glove.
I won’t leave you hanging here. I’ll talk about how you can reshape your glove to give it a new lease on life. So, let’s get started.
Why Do Baseball Gloves Need Reshaping?
Before I get to the HOW, let’s talk a bit about the WHY. More specifically, why would you need to reshape your glove in the first place? And what can even cause a glove to go out of shape?
You see, baseball gloves are made of leather. And leather as a material can become stiff when it is not conditioned properly. When you regularly use a baseball glove, it can absorb sweat and moisture from your hand. That’s what contributes to the glove staying soft and comfy when you regularly use it. And when you toss it in the storage locker for a long period, its shape gets ruined.
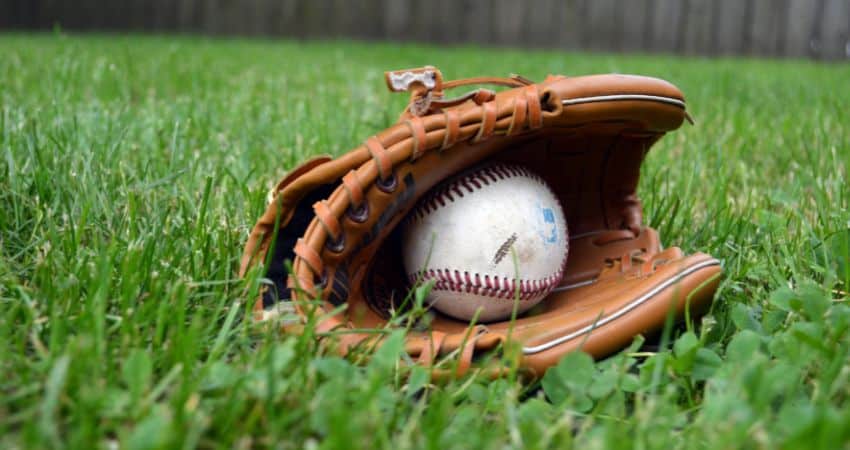
Storing your baseball glove properly is the first way to protect its shape. You want to take it out of the locker every few days and play a bit of catch with it to help it retain its shape.
You should also avoid spilling liquids on your glove. Leather gloves can soak up water or other liquids and can become heavier. The extra weight will, in turn, weigh down on the glove and ruin its shape.
An improper break-in can also lead to a faster deterioration of the shape of a baseball glove. If you don’t break the glove properly, your glove will have a harder time retaining its shape.
Can You Reshape a Baseball Glove?
So, what do you do when your baseball glove goes out of shape? The common consensus is that throwing it away is the only option. Most people believe that once a baseball glove’s shape is ruined, even if you manage to restore it, it’s not going to feel as good as before.
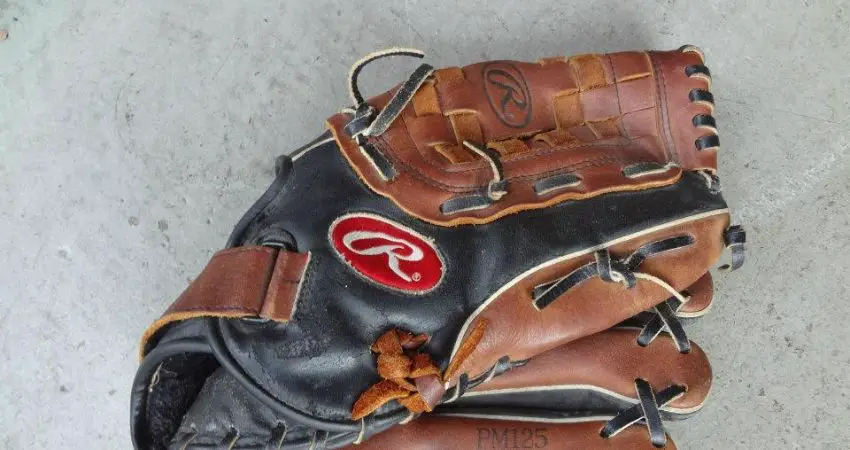

But in my experience, that’s not the case. Restoring a glove to its original shape is not only possible but if you take care of it afterward, a baseball glove can last you a good couple of seasons easily.
You see, reshaping your old glove is not that different from breaking in a new glove. By applying oil and gently nudging it toward the right shape, you can extend its lifespan and performance by quite a bit.
Steps to Reshaping an Old Baseball Glove
Hopefully, by now, I have managed to address whatever doubts you might be having about reshaping your old glove. And while it might seem like difficult, time-consuming work, it shouldn’t take you more than 24 hours if you follow along with me.
With that said, let me give you a step-by-step guideline on what you have to do to restore your old baseball glove to its game-ready shape.
·Step – 1: Soften the Baseball Glove
As I mentioned earlier, reshaping your glove is pretty much the same thing as breaking in your baseball glove. So, the first step here is to soften it up. And to do that, you need to use proper glove oils.
Using a branded oil designed specifically for glove use is always the best approach here. While you can, of course, use alternative baseball glove oils, using the wrong type of oil can make your glove darker or heavier. So, choose your glove oil carefully.
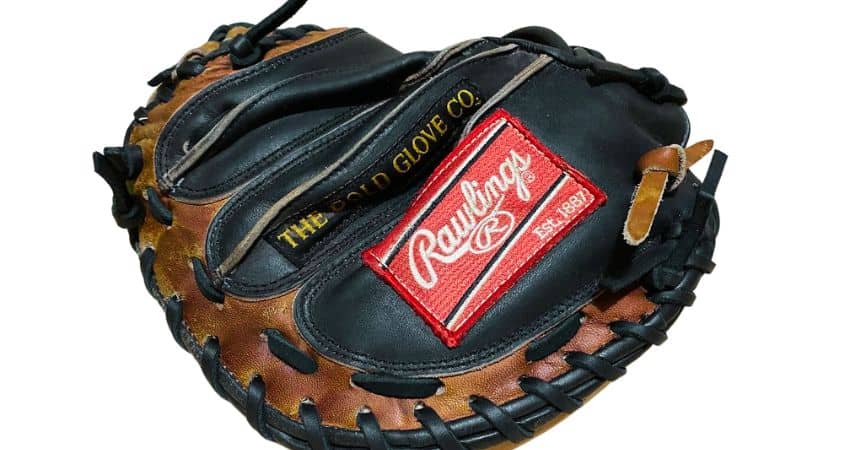

When you have settled on a specific oil, spray a bit of it on a soft, clean cloth. Then slowly rub it across the entire surface of the glove. Less is more here, so don’t apply too much of it at a single point. If the cloth becomes dry, apply a bit more oil and continue covering the entire glove.
Make sure you don’t apply the oil directly to the glove’s surface. You don’t want to make your gloves slippery by applying too much oil. Let the glove soak up the oil for a few minutes and it should feel softer than before.
· Step – 2: Use Force to Bend the Baseball Glove
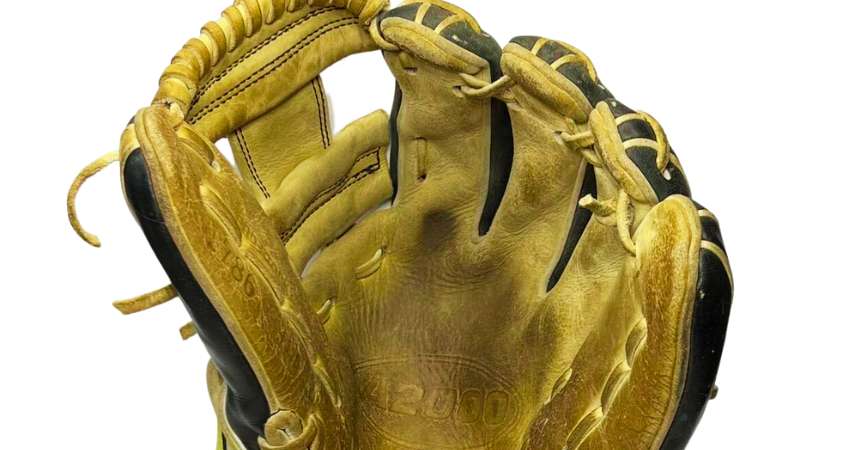
Now that your glove feels softer, it’s time to start reshaping it. First, try to use your hands and force the glove to a shape that feels comfortable. If the finger section of the glove is bent backward, try squeezing the top part of the glove so that it is angled towards the inner side of the glove.

After that, take a baseball and place it in the pocket of your glove. Alternatively, if you are a softball player, use a softball instead of a baseball. Apply a bit of gentle pressure on the ball and you should notice that the glove is coming back to its original shape.
· Step – 3: Use Rubber Bands
The idea here is to keep the baseball pressed in the pocket of the glove, but doing it manually is not very realistic. So, what you can do is wrap a couple of rubber bands around the glove to hold the ball in its place. In my experience, three to four rubber bands are enough to do the trick.
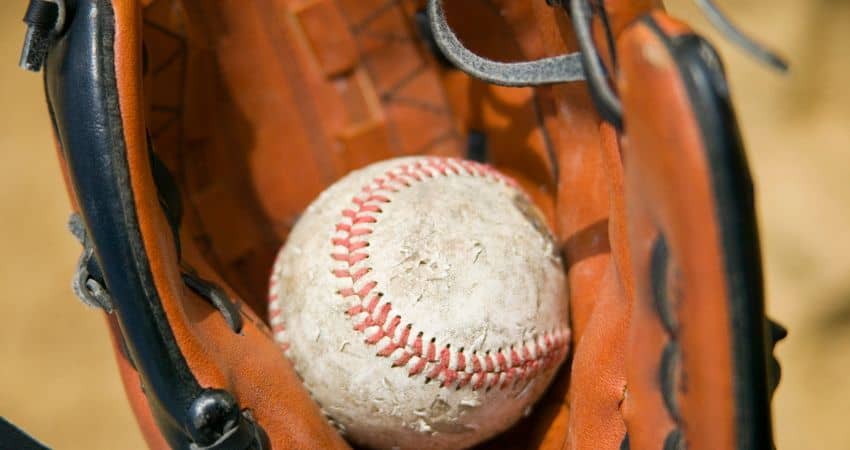

You can also use a leather belt if you have one lying around. As long as it applies a decent bit of pressure on the ball and forces it to stay inside the pocket of the glove – you’re good.
· Step – 4: Let the Baseball Glove Dry
After doing the steps above, all you have to do is let the glove dry. Now you might feel tempted to accelerate the drying time by using a hairdryer or oven, but I strongly advise against that. You see, using heat to dry your baseball glove can damage the leather and lead to cracks.
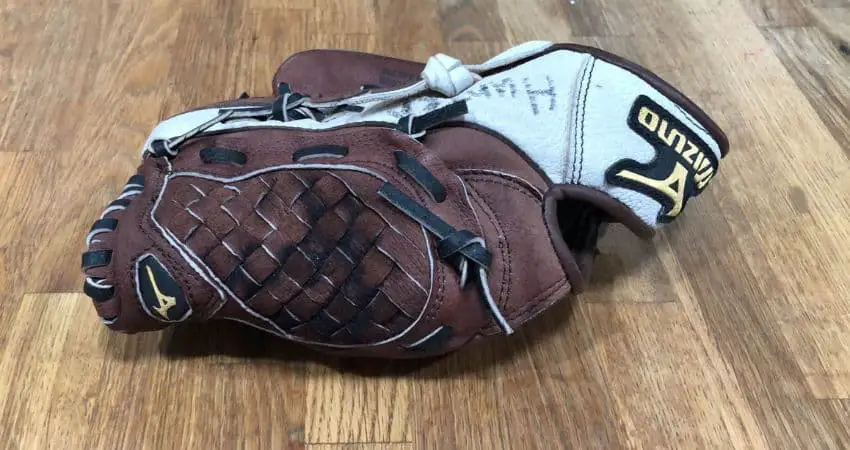

The best thing to do here is to put the glove in a well-ventilated room and let it air dry. If you have a table fan, you can place it in a way that blows air directly toward the glove. It can take up to 24 hours for your glove to dry up completely.
Once it’s dry, you should already see some improvement in the glove’s shape. If it still needs a bit of fixing, you can repeat the steps above. After two or three attempts, you should see that your glove is back to its original game-ready shape.
Let’s Recap
Baseball is not really a winter sport. When the fields are full of snow, naturally, you have no need for your high-end baseball glove. So, you put it in the locker for three to four months, and that’s when things start to go south for you.
Seasoned players who like to care for their gear always take their gloves out of the locker every few days to condition them so that they retain their shape when it’s time to use them again. If you just put your glove in the locker and forget about it, you are not going to get much use out of your glove when the winter is over.
Proper storage for your glove is important, but it’s also important to take care of your baseball gloves every chance you get, even when you are not using them. And even if you see your glove go out of shape, don’t just throw it out – fixing it is still an option.
I hope my article on how to reshape a baseball glove could help you restore your glove’s shape without too much trouble. Good luck!
